Blog
How to Master Contouring and Highlighting
Contouring and highlighting are transformative makeup techniques that enhance your natural features, define your facial structure, and give you a radiant, polished look. While these techniques may seem intimidating at first, with the right tools, products, and techniques, anyone can master them. Whether you’re aiming for a subtle daytime glow or dramatic evening glamour, contouring and highlighting are essential skills in any makeup routine.
In this guide, we’ll walk you through the basics of contouring and highlighting, share step-by-step instructions, and provide expert tips to help you achieve a flawless look. By the end of this article, you’ll be ready to master these techniques and elevate your makeup game.
Understanding Contouring and Highlighting
Before diving into the techniques, it’s essential to understand what contouring and highlighting are and why they’re used.
What Is Contouring?
Contouring involves using darker makeup shades to create shadows on specific areas of the face. This technique adds dimension, slims down features, and emphasizes natural bone structure. Common areas for contouring include:
- The hollows of the cheeks
- The sides of the nose
- The jawline
- The temples
What Is Highlighting?
Highlighting, on the other hand, involves applying lighter shades to bring attention to certain areas of the face. It creates a lifted, radiant effect and balances the shadows created by contouring. Highlighting is typically done on:
- The tops of the cheekbones
- The bridge of the nose
- The brow bone
- The center of the forehead
- The cupid’s bow (above the lips)
Together, contouring and highlighting work to sculpt and illuminate the face, enhancing its natural beauty.

Step-by-Step Guide to Contouring and Highlighting
Step 1: Gather Your Tools and Products
To achieve a professional-looking contour and highlight, you’ll need the right tools and products. Here’s what you’ll need:
- Contour Products: Choose a contour product (cream, powder, or stick) in a shade that’s one to two shades darker than your skin tone.
- Highlight Products: Pick a highlighter (liquid, powder, or cream) that’s one to two shades lighter than your skin tone.
- Blending Tools: Use brushes, sponges, or your fingers to blend the products seamlessly. A fluffy brush is ideal for powder products, while a damp beauty sponge works well with creams and liquids.
- Setting Powder: To lock in your work, use a translucent setting powder to keep everything in place.
Step 2: Prep Your Skin
Start with clean, moisturized skin to ensure a smooth application. Apply a primer suited to your skin type to create a flawless base and extend the longevity of your makeup. Follow up with foundation to even out your skin tone and concealer to cover any blemishes or discoloration.
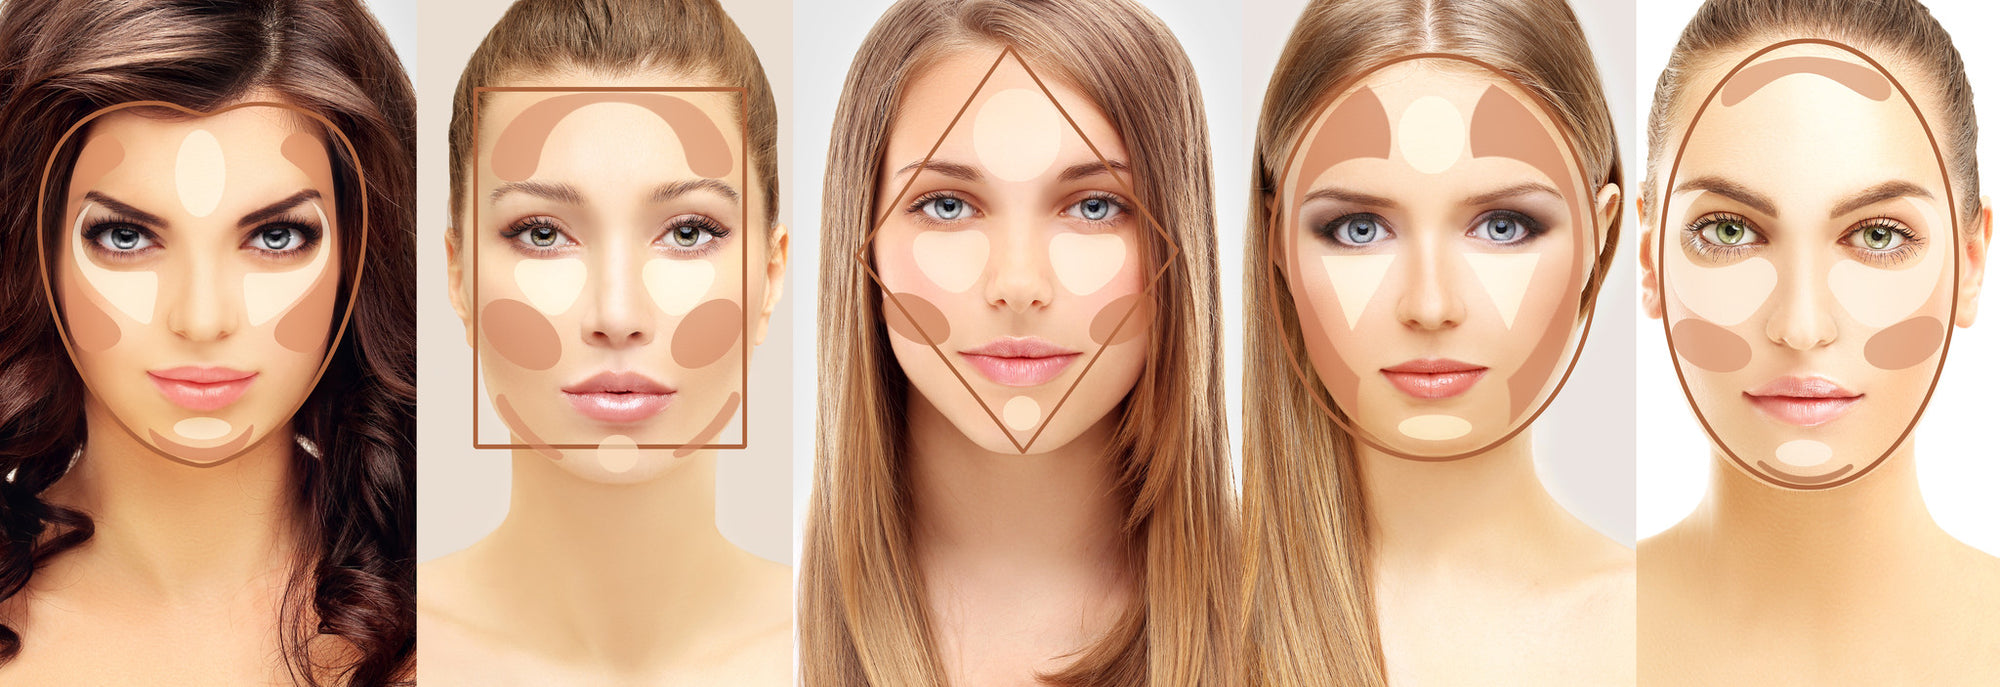
Step 3: Identify Your Face Shape
Contouring and highlighting are not one-size-fits-all techniques. Your approach will depend on your face shape:
- Oval Face: Focus on the cheekbones, jawline, and temples for contouring. Highlight the center of the forehead, the bridge of the nose, and the tops of the cheekbones.
- Round Face: Add contour to the sides of the forehead, under the cheekbones, and along the jawline to create definition. Highlight the center of the face to draw attention to the middle.
- Square Face: Soften the edges by contouring the jawline, temples, and under the cheekbones. Highlight the center of the forehead, chin, and cheekbones.
- Heart Face: Contour the sides of the forehead and under the cheekbones to balance the shape. Highlight the center of the forehead, nose, and tops of the cheeks.
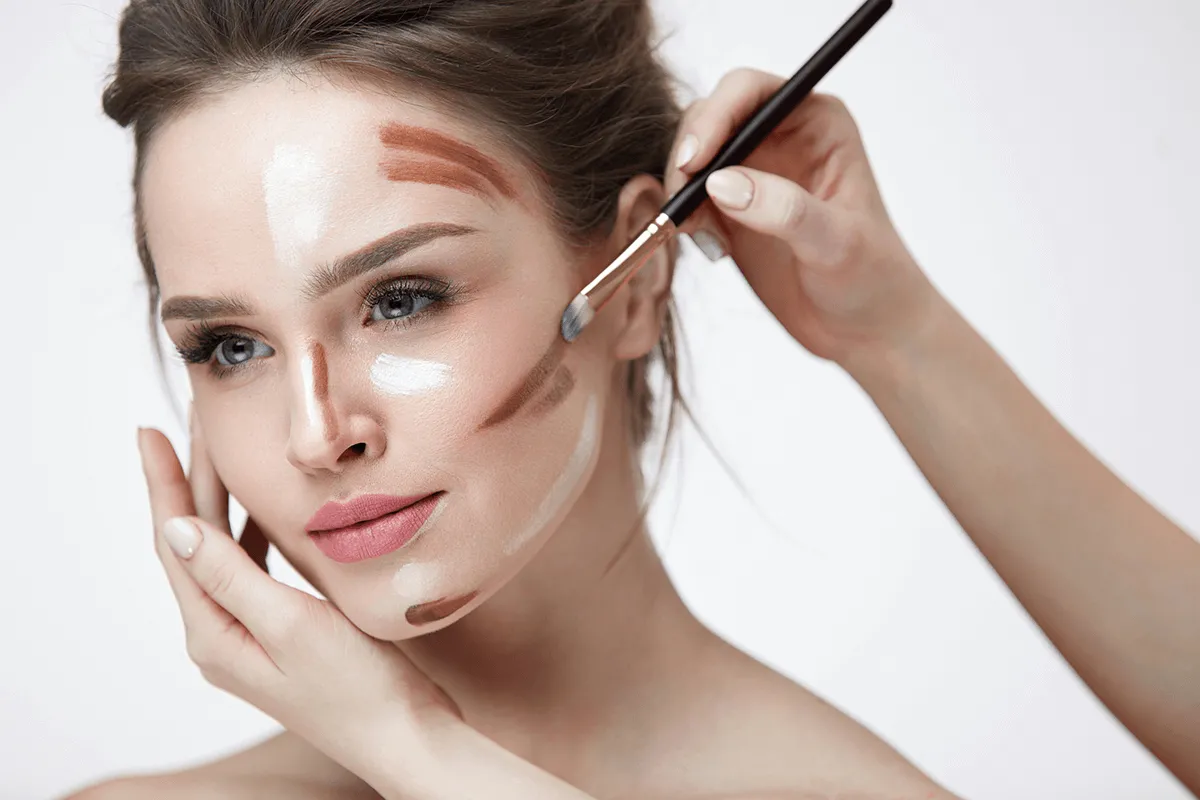
Step 4: Apply Contour
Using your chosen contour product, apply it to the areas you want to define:
- Cheekbones: Locate the hollows of your cheeks by sucking them in. Apply contour from the ear toward the corner of your mouth, stopping halfway.
- Nose: Draw two lines down the sides of the nose to create the illusion of a slimmer nose.
- Jawline: Trace along the jawline to define it and reduce the appearance of a double chin.
- Forehead/Temples: If you want to minimize the size of your forehead, apply contour along the hairline and blend outward.
Step 5: Apply Highlight
Next, use your highlighter to accentuate key areas:
- Cheekbones: Apply highlighter to the tops of the cheekbones for a lifted effect.
- Nose: Draw a thin line down the bridge of the nose and a small dot on the tip for a subtle glow.
- Forehead: Add highlighter to the center of your forehead to brighten the area.
- Cupid’s Bow: Dab highlighter above your upper lip to make your lips appear fuller.
- Brow Bone: Highlight just under the brow bone to lift and define the eyebrows.
Step 6: Blend, Blend, Blend
Blending is the most crucial step in achieving a natural, seamless look. Use a damp beauty sponge or a makeup brush to blend the contour and highlight into your skin. Avoid harsh lines by using light, circular motions. The goal is to create a gradient effect where the contour and highlight transition smoothly into the surrounding skin.
Step 7: Set Your Makeup
To ensure your contour and highlight last all day, set your makeup with a translucent powder. Lightly dust it over your face, focusing on areas prone to oiliness. For an extra radiant finish, use a setting spray to lock in the look.
Tips for Perfecting Contouring and Highlighting
- Choose the Right Shade: Selecting the wrong shades for your skin tone can result in an unnatural look. Test products on your skin to find shades that complement your complexion.
- Start Light: It’s easier to build up product than to tone it down. Start with a light hand and add more as needed.
- Blend Thoroughly: Harsh lines can make your makeup look unpolished. Take your time to blend products seamlessly into your skin.
- Consider Your Lighting: Always do your makeup in natural light whenever possible to ensure accurate application.
- Practice Makes Perfect: Like any makeup technique, contouring and highlighting take practice. Experiment with different products and placements to find what works best for you.
Common Mistakes to Avoid
- Using the Wrong Products: Avoid using contour shades that are too warm or highlight shades that are too frosty. Opt for neutral tones that mimic natural shadows and light.
- Over-Applying Products: Too much contour or highlight can look heavy and unnatural. Aim for a subtle enhancement of your features.
- Skipping Blending: Poor blending can leave harsh lines and ruin the effect. Always take the time to blend thoroughly.
- Ignoring Your Face Shape: Applying contour and highlight without considering your face shape can result in an unflattering look.
- Using the Wrong Tools: The right tools make a significant difference in achieving a polished result. Invest in quality brushes and sponges for the best application.
Recommended Products for Contouring and Highlighting
To achieve a flawless look, consider investing in these tried-and-true products:
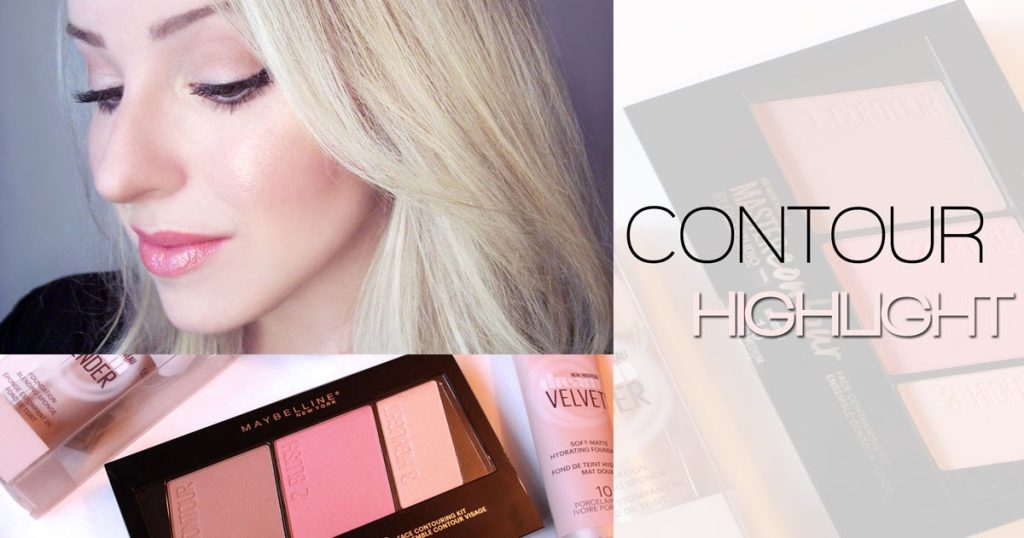
- Contour: Fenty Beauty Match Stix, Hoola Bronzer by Benefit, or Anastasia Beverly Hills Contour Kit.
- Highlight: BECCA Shimmering Skin Perfector, Maybelline Master Chrome, or Charlotte Tilbury Hollywood Flawless Filter.
- Blending Tools: Real Techniques Miracle Complexion Sponge, Beautyblender, or Sigma Contour Brushes.

Final Thoughts
Mastering contouring and highlighting can take your makeup skills to the next level, helping you define your features and create a radiant glow. By understanding your face shape, choosing the right products, and practicing your technique, you can achieve a professional-looking finish that enhances your natural beauty.
Whether you’re a beginner or a seasoned makeup enthusiast, contouring and highlighting are versatile techniques that can adapt to any style or occasion. With time and practice, you’ll be able to sculpt, illuminate, and transform your face with ease.


